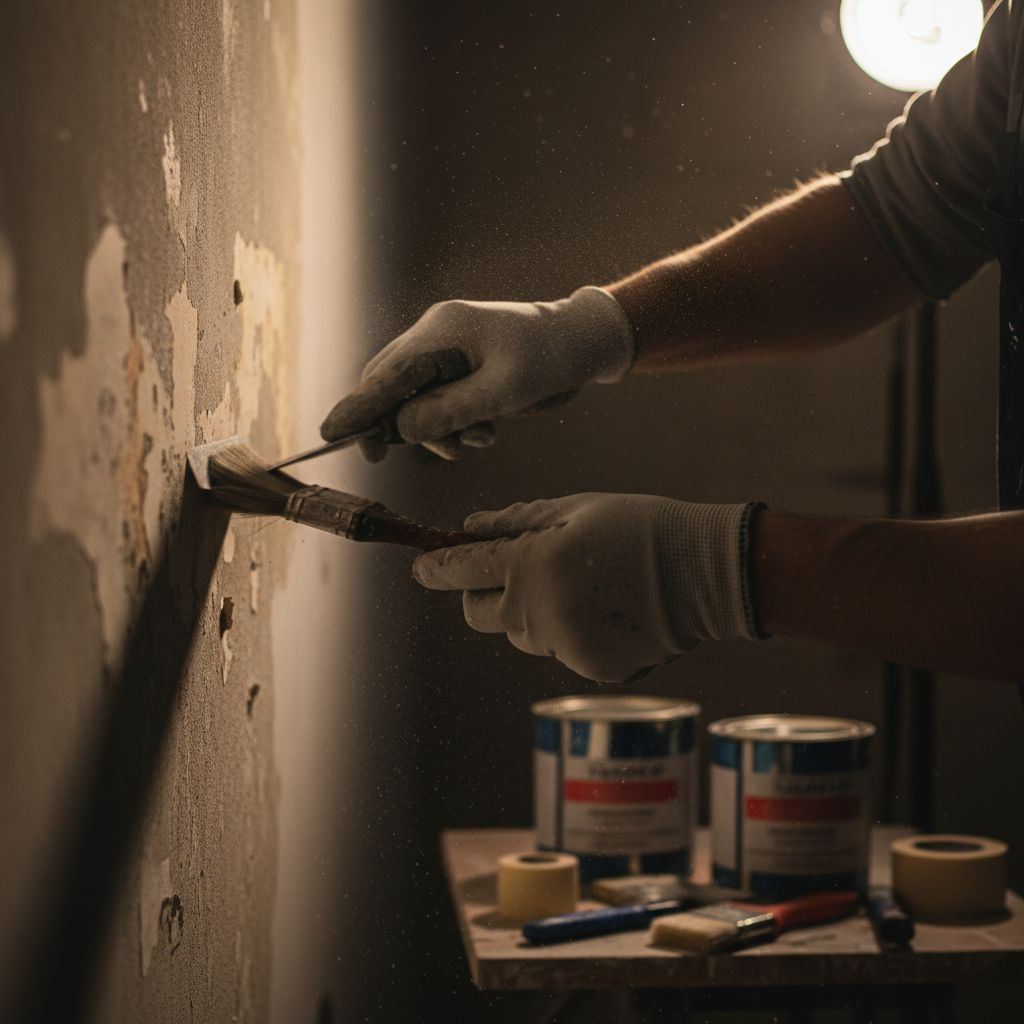
Professional wall repair before painting involves patching holes with joint compound, filling cracks with mesh tape, and sanding surfaces until they are perfectly smooth. This essential preparation ensures that the new coat of paint adheres properly and results in a seamless, durable finish that resists peeling or cracking over time.
Most homeowners start a painting project with a sense of excitement, yet that enthusiasm often fades when fresh color highlights old imperfections rather than hiding them. A new coat of paint is only as good as the surface beneath it. In Juab County, our homes face unique environmental shifts that lead to unsightly drywall cracks and persistent nail pops. If you skip the repair stage, your investment will likely fail within a year. This guide examines the essential steps for professional surface preparation. You will learn how to identify common structural issues, choose between spackle and joint compound, and master the sanding techniques required for a seamless finish. By understanding these technical details, you ensure your walls remain flawless for years to come.
Why Wall Repair Before Painting is the Most Critical Step
In the industry, a common saying holds that professional painting is 80 percent preparation and 20 percent application. While it is tempting to reach for the roller immediately, the success of the finish depends entirely on what happens before the lid is even popped on a paint can. A frequent mistake homeowners make is assuming that a fresh coat of paint will camouflage cracks, dents, or nail holes. In reality, paint is a thin decorative coating, not a structural filler. It often highlights imperfections rather than hiding them, as the sheen reflects light differently over uneven surfaces.
In Juab County, our local environment plays a significant role in wall condition. The high desert climate and specific soil conditions often lead to minor shifts in a home foundation. These movements manifest as hairline cracks or settling gaps. Skipping wall repair before painting in these scenarios leads to premature peeling and "flashing," where the texture of the patch or defect stands out against the rest of the wall. We emphasize careful surface preparation because we know that a durable result requires a perfectly smooth substrate. Without addressing the underlying drywall damage, even the most expensive premium paint will fail to provide the long term value expected from professional residential and commercial painting services.
Identifying Common Wall Issues in Utah Homes
Residents of Nephi, Mona, and Eureka often deal with specific wall defects driven by our unique climate. The high desert environment in Juab County leads to extreme fluctuations in humidity and temperature, causing the wooden framing behind your drywall to expand and contract. This constant movement is the primary culprit behind the most common wall issues we see during our careful surface preparation process.
Nail pops are perhaps the most frequent nuisance. These appear as small, circular bumps or protrusions where the drywall fastener has loosened. This usually happens because the wood studs shrink as they dry out or as the house settles, causing the nail to push against the drywall and paint film. Another common sight is the hairline crack, typically found radiating from the upper corners of door frames or windows. These are generally cosmetic, representing the house "breathing" during seasonal shifts.
It is important to differentiate between these cosmetic settling cracks and potential structural issues. While thin, vertical or horizontal cracks are standard in Utah homes, larger diagonal cracks or gaps wider than a quarter inch may indicate foundational movement. Because drywall is a porous, gypsum-based material, it is highly sensitive to the local air quality. In Juab County, the lack of consistent moisture can cause drywall to become brittle, making it prone to stress fractures. Identifying these issues early ensures that our professional residential and commercial painting services provide a finish that won't simply crack again the next time the seasons change. Understanding these local environmental factors is why we never treat wall repair as an optional step.
The Professional Process for Fixing Drywall Cracks and Nail Pops
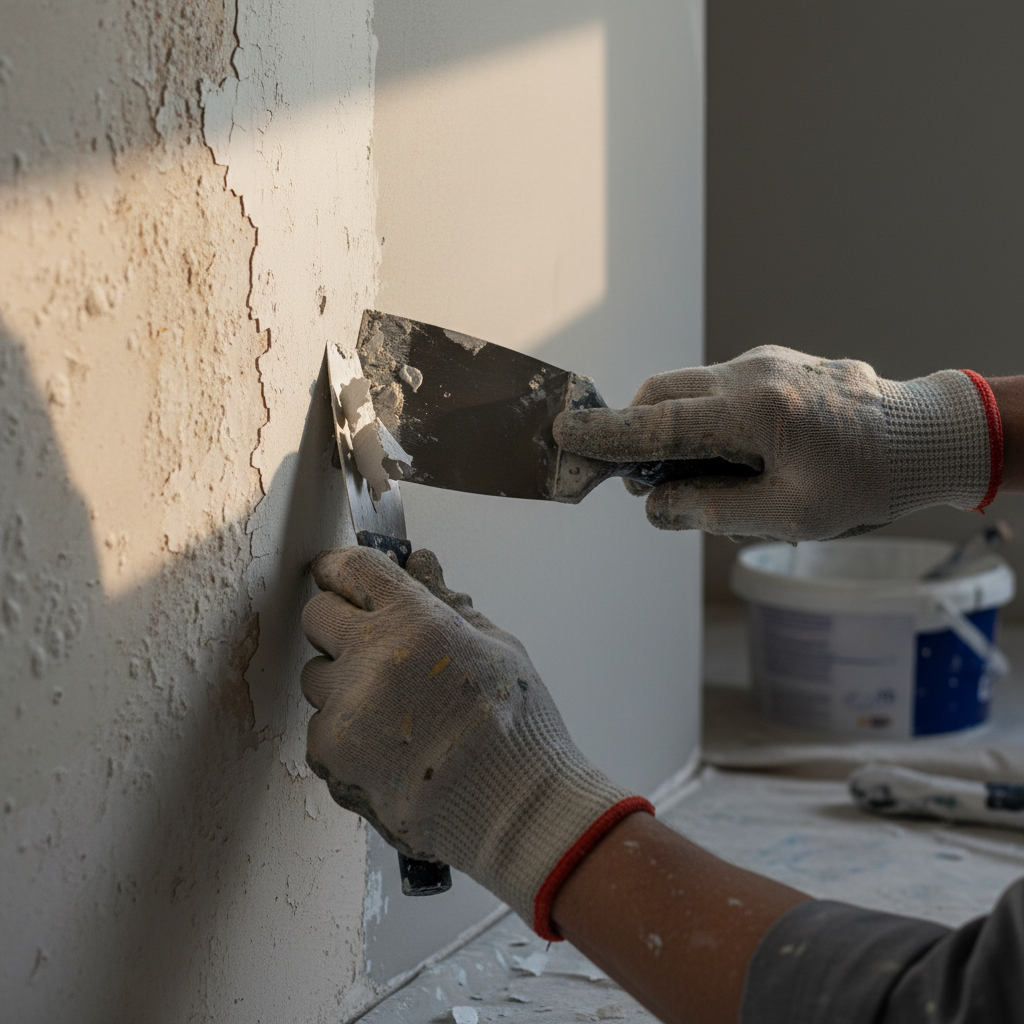
Correcting these imperfections requires more than a hammer and a prayer. For nail pops, the instinct to simply drive the fastener back into the stud is often what leads to the pop reappearing weeks later. The original nail has lost its grip; hammering it back does not restore structural integrity. To fix this properly, we drive a new drywall screw approximately one inch above and one inch below the failed fastener. This pulls the drywall tight against the framing. Once the board is secure, we either remove the old nail or use a nail set to sink it deep enough to cover, ensuring the repair stays flat.
Addressing cracks, especially those near door frames where stress is highest, requires bridging the gap. Simply smearing spackle into a crack is a quick fix that fails because spackle lacks the tensile strength to resist the natural movement of a home. For a professional result, we use either fiberglass mesh tape or traditional paper tape. Mesh tape is convenient for its self adhesive properties, but it must be paired with setting type joint compound to prevent future cracking. Paper tape, while more labor intensive, offers the highest level of reinforcement against the seasonal shifts common in Nephi and Mona.
The secret to a seamless finish is patience and the application of multiple thin coats rather than one thick layer. Thick applications of compound often shrink, crack, or sag as they dry, creating a visible hump on the wall. We apply a thin bedding coat to set the tape, followed by two or three wider skim coats to feather the edges into the surrounding surface. This meticulous approach to wall repair before painting is a cornerstone of our careful surface preparation. By building the repair in layers, we ensure the professional residential and commercial painting services we provide result in a wall that looks like one continuous, flawless plane. If you have concerns about recurring damage, you can contact Juab Painting for a detailed assessment.
Spackle vs Joint Compound: Choosing the Right Filler
Choosing the right material is the difference between a repair that disappears and one that fails within a year. Spackle is a lightweight filler designed for minor surface blemishes, such as picture nail holes or shallow scuffs. It dries rapidly and exhibits very little shrinkage, making it a convenient choice for small, isolated dings. However, spackle is relatively brittle and lacks the structural integrity required for significant wall repair before painting. Because it does not feather out easily, using it on larger areas often results in a noticeable patch that disrupts the uniform sheen of the final coat.
Joint compound, commonly referred to as drywall mud, is the professional standard for taping joints and repairing larger indentations. It is significantly stronger than spackle and can be sanded into a much finer, tapered edge that blends seamlessly with the existing wall. For high-standard careful surface preparation, we often utilize setting-type joint compounds, also known as hot mud.
Feature | Spackle | Joint Compound (Mud) |
|---|---|---|
Best Use | Nail holes, tiny dings | Cracks, taping, large gouges |
Shrinkage | Low | Moderate (varies by type) |
Sandability | Fair | Excellent (featherable) |
Strength | Low | High |
Hot mud products, like Easy Sand 45 or 90, are essential for professional residential and commercial painting services because they harden via a chemical reaction rather than simple evaporation. This allows our team to apply multiple coats in a single day without waiting for the core to dry. If your project involves deep gouges or recurring cracks, you can contact Juab Painting to ensure the correct compound is applied for a permanent fix.
The Importance of Sanding and Dust Management
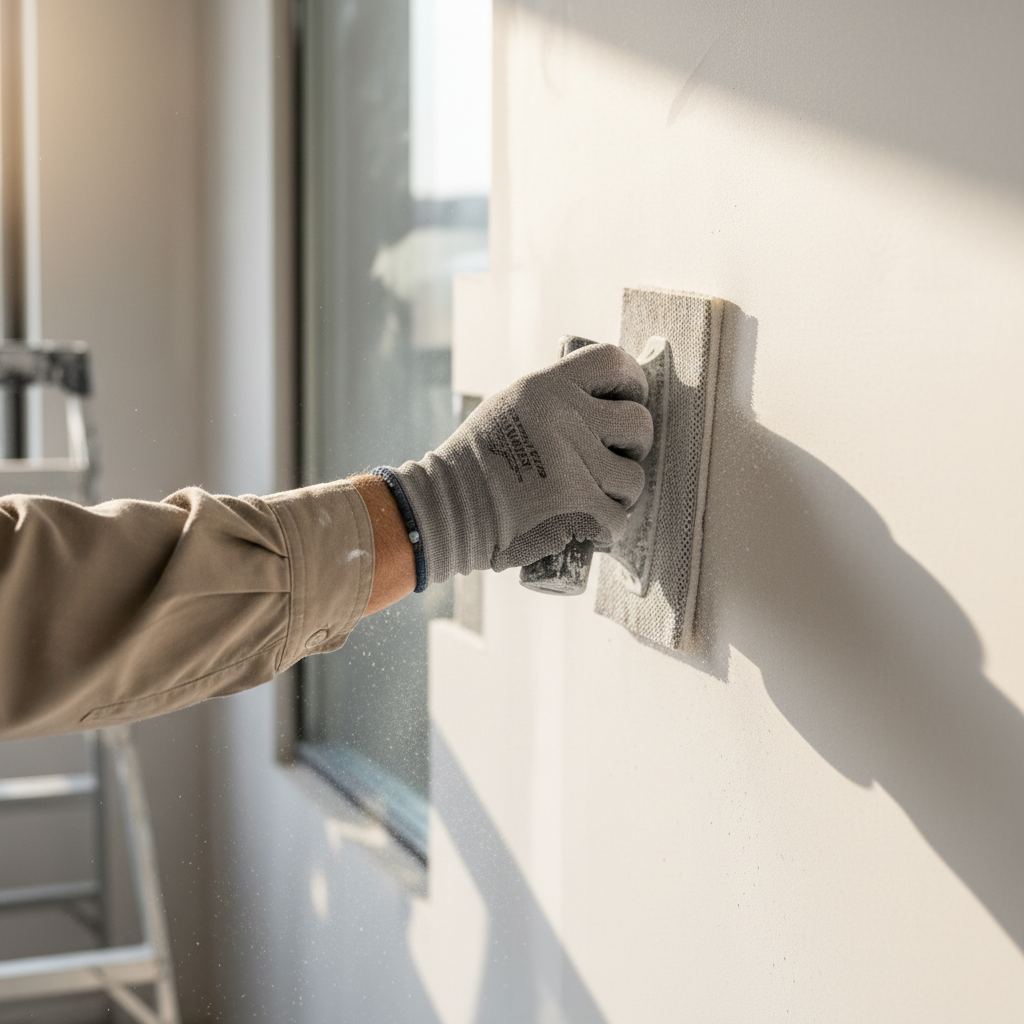
Sanding serves a dual purpose in high-standard wall repair before painting. While leveling the patch is the most obvious goal, sanding also creates a microscopic profile on the surface. This subtle texture allows the primer and paint to bite into the drywall compound, creating a mechanical bond that prevents the film from peeling or shearing off over time. We typically follow a specific grit progression to achieve a seamless look. A 120-grit sandpaper is used for the initial knock-down of ridges and high spots, while a 220-grit paper provides the final, ultra-smooth finish that makes the repair invisible once coated.
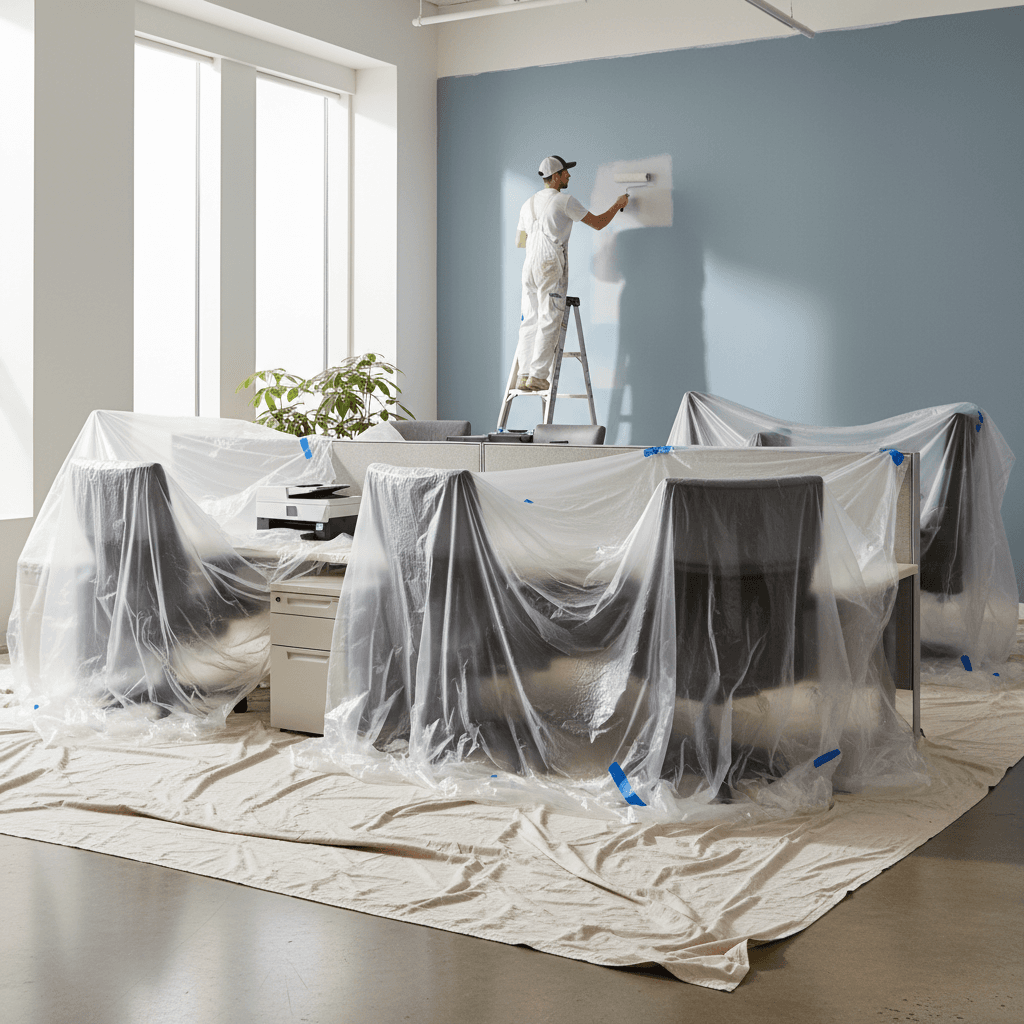
The biggest deterrent to DIY wall work is the fine gypsum dust that inevitably settles on every surface in a home. To mitigate this, Juab Painting utilizes professional-grade dust extraction systems. Our vacuum-assisted sanders capture the vast majority of particulates at the source before they can drift into your living space or HVAC system. When combined with HEPA filtration, these tools protect your furniture and maintain indoor air quality, which is a critical component of our careful surface preparation. This clean execution ensures that our professional residential and commercial painting services provide a high-value result without leaving behind a mess. If you are concerned about the impact of dust during your next project, you can contact Juab Painting to discuss our containment and filtration methods.
Cleaning and Priming: The Final Prep Steps
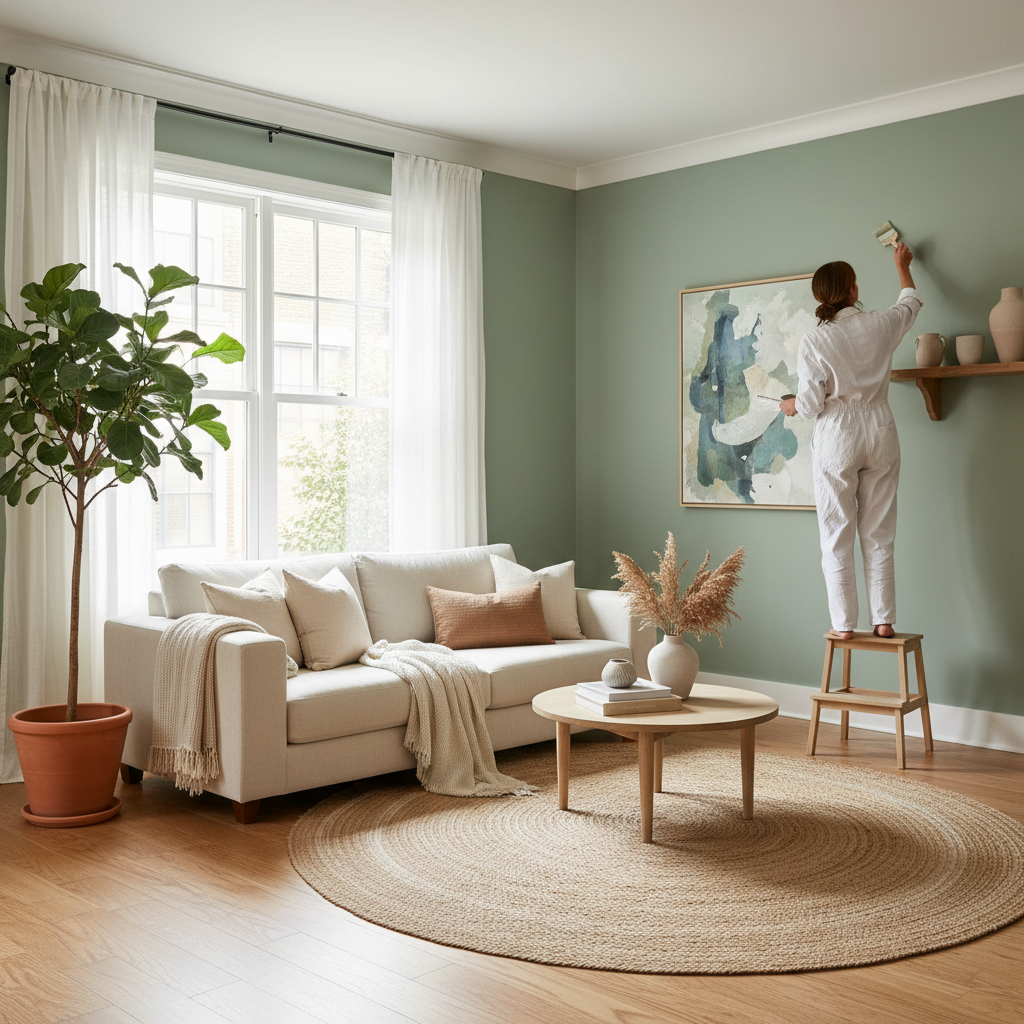
Once the dust extraction systems have finished their work, the final stage of careful surface preparation begins. A common error in DIY wall repair before painting is moving directly from sanding to painting. Even a microscopic layer of gypsum dust or natural oils from your hands can act as a bond breaker, preventing the paint from adhering to the substrate. We ensure every surface is wiped down with a tack cloth or a slightly damp microfiber towel to create a pristine foundation.
Priming serves as the essential barrier that prevents "flashing." This phenomenon occurs when a new patch is more porous than the surrounding wall, causing it to soak up the resins and binders in the paint like a sponge. The result is a dull, flat spot that stands out against the rest of the finish. In the dry climate of Juab County, where drywall and compound lose moisture rapidly, using a high quality sealer or PVA primer is mandatory. These products seal the repair and provide a uniform surface profile, ensuring the final sheen of our professional residential and commercial painting services looks consistent from every angle. If you want to ensure your walls are correctly sealed and ready for color, you can contact Juab Painting for a professional assessment.
When to Call a Professional for Wall Repair
Minor blemishes like a single picture nail hole are manageable weekend tasks, but larger repairs require a specific skill set and specialized tools. Professional intervention becomes necessary when you are dealing with textured walls, such as orange peel or knockdown finishes, which are notoriously difficult to match. A poorly blended patch in a high visibility area will catch the light and ruin the aesthetics of even the most expensive paint. Furthermore, if you are undertaking a large scale renovation, the sheer volume of dust and sanding requires the industrial extraction systems used by our team to keep your home clean.
Recurring cracks are another sign that you need an expert. In Juab County, where homes frequently shift due to soil conditions, a crack that reappears every season indicates a need for structural reinforcement rather than a simple cosmetic fill. Juab Painting includes comprehensive careful surface preparation in every estimate to address these underlying issues. By utilizing professional residential and commercial painting services, you ensure that your wall repair before painting is executed with the durability needed to last for years. If you are facing extensive damage or stubborn cracks, contact Juab Painting for a thorough assessment and a finish that stands the test of time.